Learning to cook from scratch can be intimidating. Start with the basics and learn how to begin by tossing some flour on the counter and creating beautiful buttermilk biscuits with this guide for beginners.
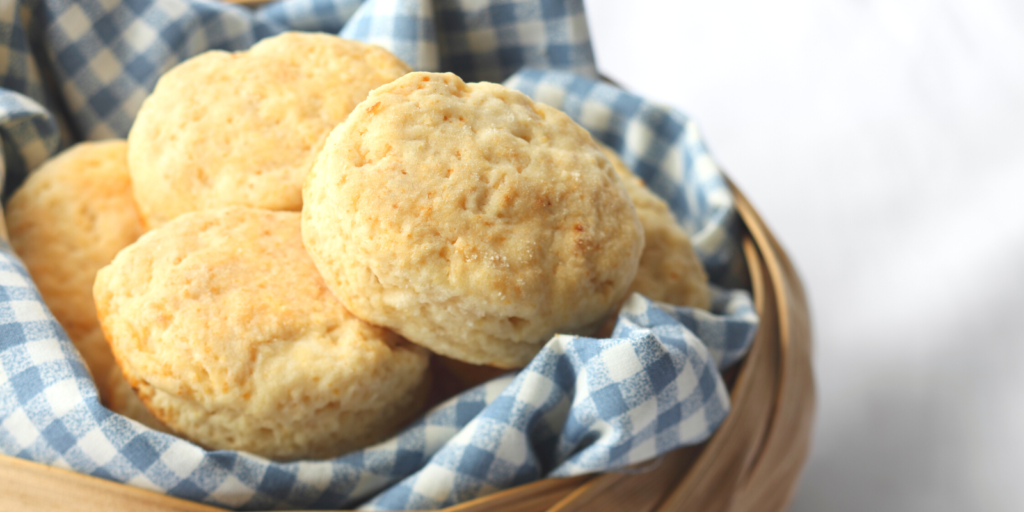
Buttermilk biscuits are a staple in the south. Southern mothers and grandmothers have been making biscuits for generations. It is a skill that many women today are actually intimidated by rather than interested in learning.
With this Buttermilk Biscuit for Beginners guide, I hope to help you conquer the fear of flour and dough. Throwing a few ingredients together and rolling dough is easier than having to fear the pop of the can from those tubes of dough!
The Secret to Buttermilk Biscuits:
There really are no hidden secrets when it comes to making biscuits. I can share tips and tricks to get the perfect biscuit but the general concept of dough to bread has been the same for centuries.
The thing that scares most people is overworking the dough and getting bricks instead of biscuits. The key is to not fear the outcome. Before you make this recipe, tell yourself that you are going to make biscuits. Following these steps and telling yourself you are going to have fluffy homemade biscuits will give you the confidence you need to replace fear of failure.
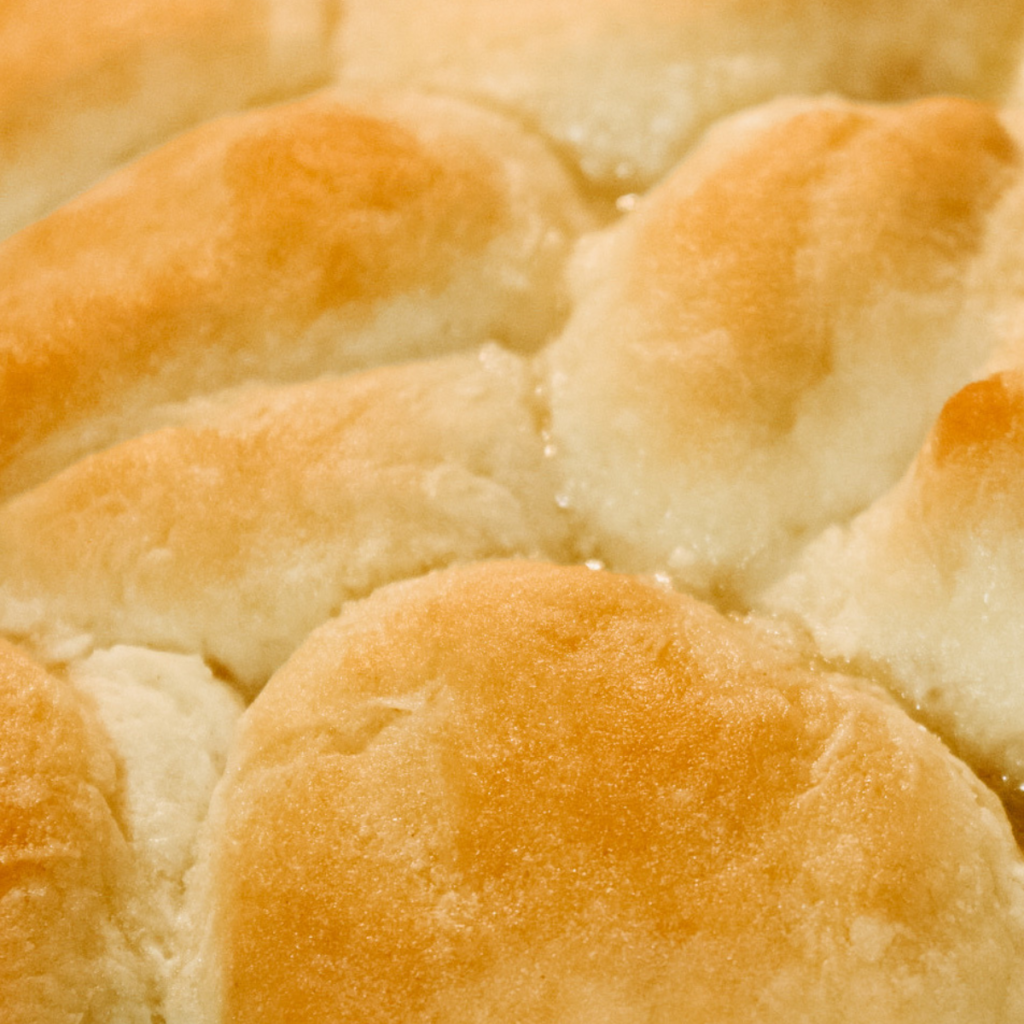
Dough for Buttermilk Biscuits
I recommend using While Lily flour for biscuits. Find the exact flour I use here and purchase it online or pick up in-store. I currently do not receive a commission from White Lily to recommend this product.
I dump the bag of flour in a stainless steel mixing bowl with a lid because I find it easier to store and convenient to make biscuit dough. This part depends on your preference for storage! Always ensure that you know exactly what you are using no matter how you store flour. Biscuits have to have self-rising flour.
Let’s Get Started…
Make a well in the center of the flour whether you are using a bowl or a pile on the counter. A flour well in an indention in the flour that will serve as a place to hold buttermilk and other ingredients. It allows the ingredients to be mixed in thoroughly.
Pour in 1-2 cups of buttermilk. Make sure the buttermilk is at room temperature!
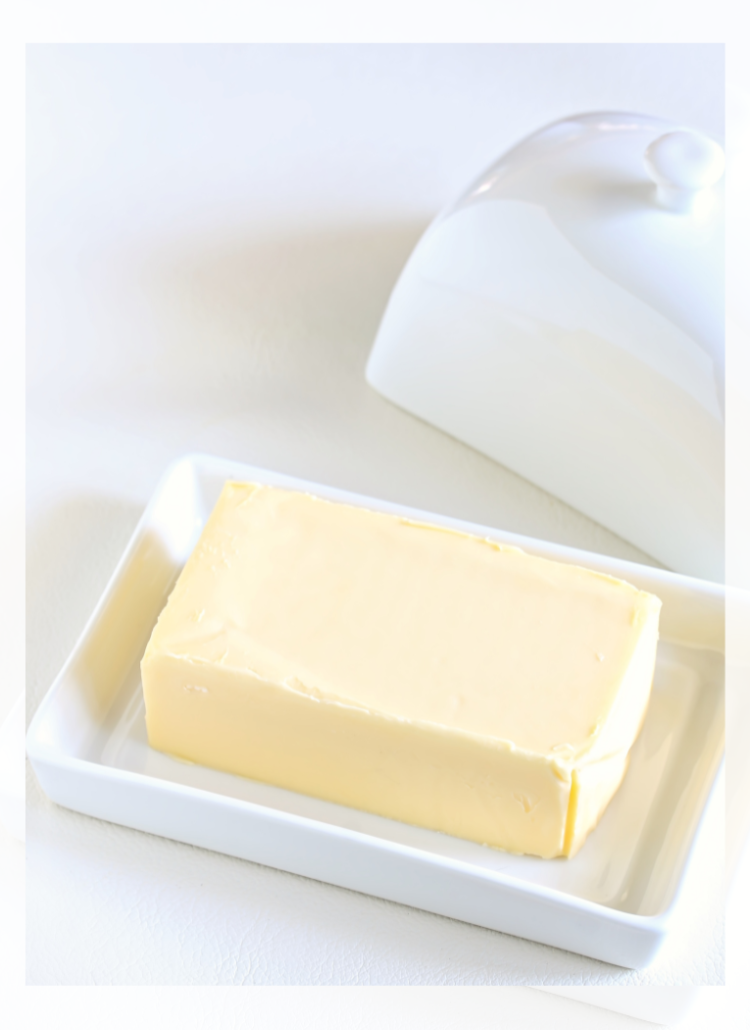
Add in 4oz of butter. I prefer to use a 4oz round of homemade butter that has been frozen. I grate the butter and toss it into the buttermilk before pouring in the flour well. Honestly, this is a time-consuming extra step but to me, it is well worth the effort! Use about one stick of fresh butter in lieu of grating frozen butter if choosing to skip this step.
Take one hand and begin squishing the butter in the buttermilk. Slowly start incorporating the flour by using your index finger to bring in the flour from the sides of the well rather than the bottom. Pull in flour, squish, and repeat. You should see a “shaggy” dough beginning to form.
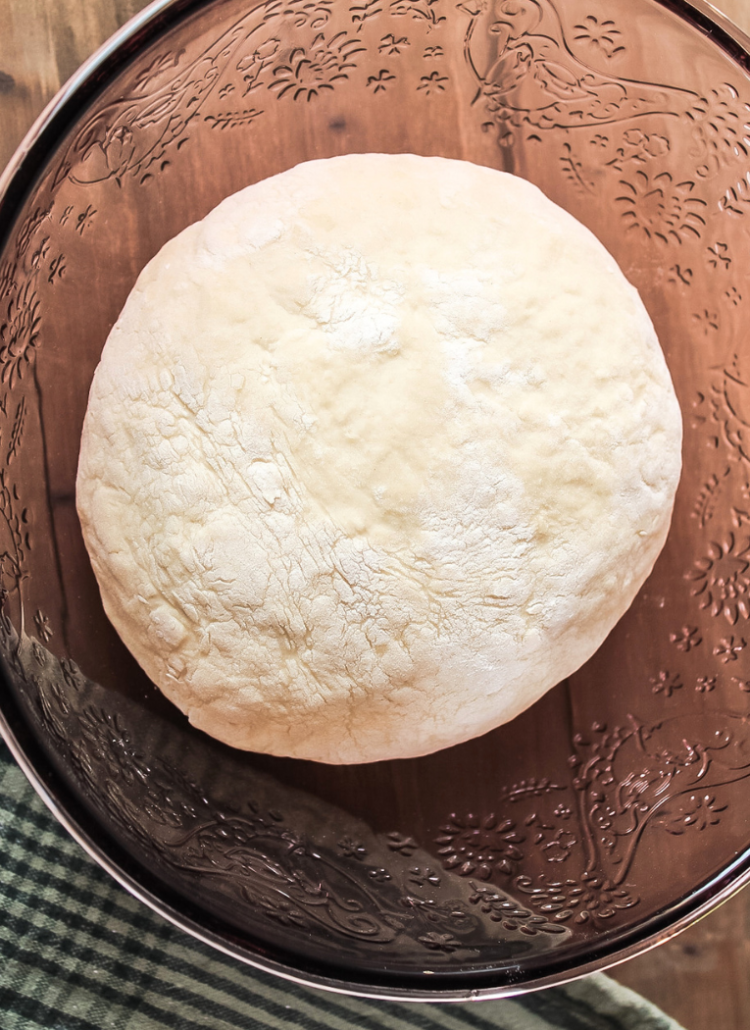
When the dough begins to become more solid meaning you are able to pick it up, pinch one side and fold it onto the other. Repeat this process until the shaggy dough becomes a ball. This should only take a minute or two.
Pick the dough up using the pinky side of both hands and place it on a floured surface. Toss the dough by picking it up as you did to move it and letting it fall onto the counter. Use your fingertips to begin pressing out the dough. You may choose to use a floured rolling pin, but I find that using my fingers works best. It is easy to get the dough too thin when rolling it instead of pressing it.
Dough that is 3/4″ to 1″ thick will yield fluffier biscuits. Use biscuit cutters, a cold glass, or an object such as a can with a sharp edge to cut out the biscuits. Biscuit cutters typically come in a selection of sizes; selecting a smaller biscuit cutter will also yield taller, fluffier biscuits. Pro Tip: Push the biscuit cutter straight into the dough and lift it straight up. Twisting will cause the biscuit to fall flat in the oven.
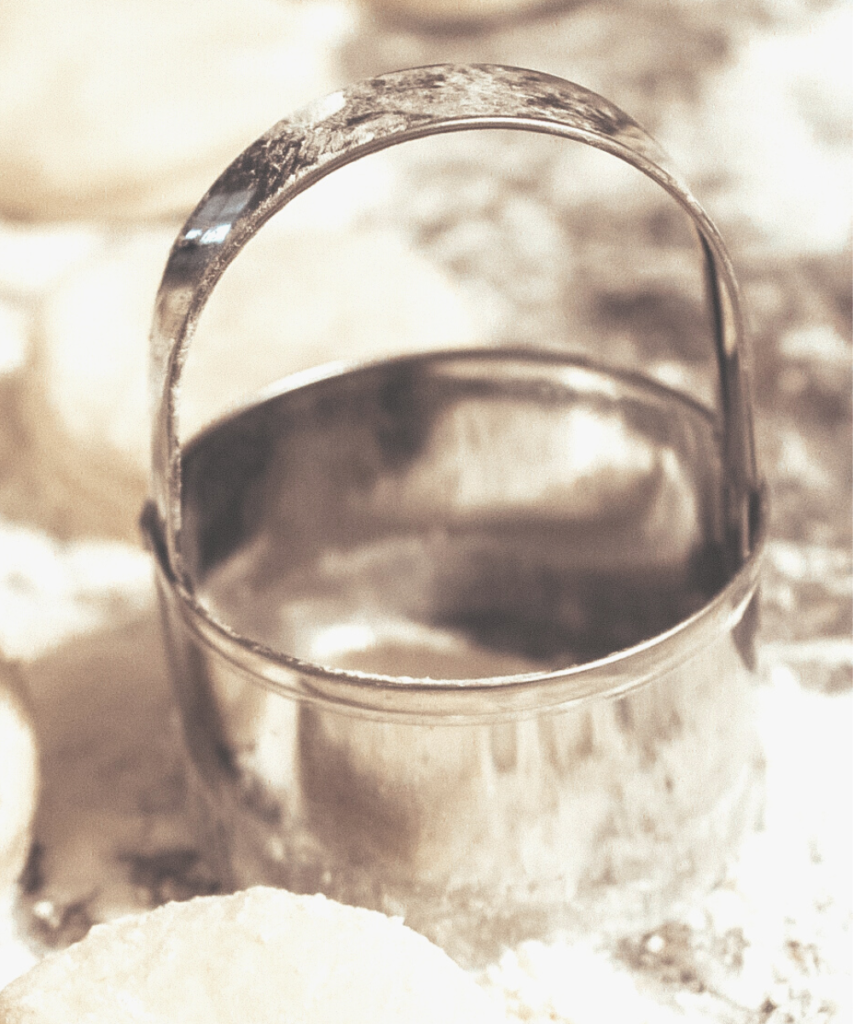
Repeat the process by picking up the leftover dough that has not been cut and squishing it into a ball. Spread to desired thickness and cut until you have no leftover dough. You might end up with small scraps to throw away.
I usually get 14-18 biscuits with no leftover dough from using 1 cup of buttermilk. The number of biscuits or the amount of dough produced heavily depends on how much buttermilk you use.
Place the biscuits on a cast iron skillet that has been preheated in a 400° oven. This is the secret to getting the biscuits to brown on the bottom. Place the biscuits close to one another; this forces them to rise upwards instead of falling flat when there is space between them.

Printable Recipe Card:
Buttermilk Biscuits
Ingredients
- Self-Rising Flour (unbleached)
- 1 cup Buttermilk
- 4 ounces Butter or Crisco (grate frozen butter or use crisco)
Instructions
- Preheat oven to 400° and place greased skillet in oven while heating.
- Make a well in the center of a mixing bowl filled with self-rising flour. Pour in 1 to 1 1/2 cups of room temperature buttermilk. Add in approximately 4oz grated butter. Squeeze the butter and start raking in flour from the sides using index finger. Continue working ingredients until a shaggy dough forms. Flip the dough with hands until the shaggy dough becomes a smooth ball of dough. Be cautious not to overwork the dough.
- Lift the dough from the bowl to a floured working surface. Press down spreading the dough and use a rolling pin to get desired thickness. Tip: 1/4" rolled dough will yield thinner biscuits while 3/4"-1" dough will yield thicker, fluffy biscuits.
- Cut out the biscuits using biscuit cutters or a cold glass. Tip: Push straight down and do not twist if using a metal edge cutter such as biscuit cutters or a tin can as some southerners use. Also, using smaller sized biscuit cutters will give you fluffier biscuits!
- Carefully lay the biscuits on the preheated skillet. This is the secret to getting biscuits to brown on the bottom. Place them close together for thick, fluffy biscuits!
- Place skillet in the oven for 18-20min or until golden brown on top. Rub butter on the tops of the biscuits when they are done!
Top with Sawmill Gravy:
Sawmill gravy is one of my husband’s favorite additions to biscuits and breakfast. He would drink it from the pan if I would let him! As with buttermilk biscuits, this gravy is another staple of the south!
In a saucepan, drain off about 2 tablespoons of grease from sausage or bacon.
Add in 3 tablespoons of all-purpose flour. Stir on medium heat until it begins to brown… brown not burn.
Slowly pour in about 1 cup of milk stirring in between. If you add too much milk, you will need to add more flour to thicken it back up.
Season with salt and pepper to taste!
