This fresh dough recipe is a perfect addition to a made from scratch kitchen! I have searched the internet for a fresh dough recipe and this one has proven to be worthy of all things made in my kitchen.
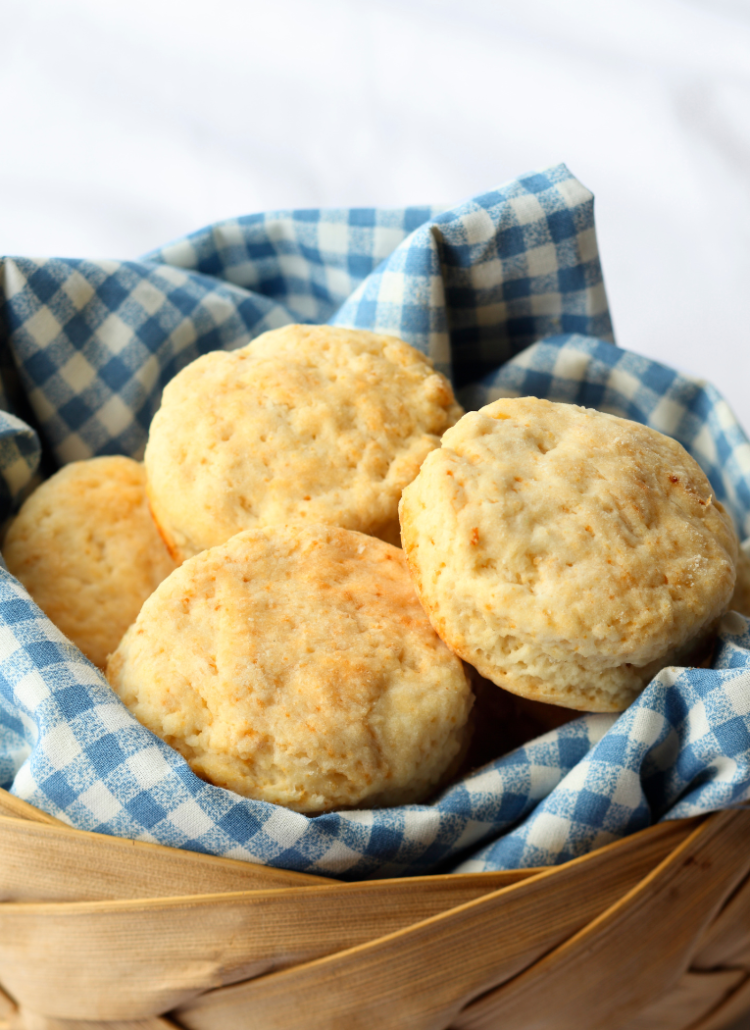
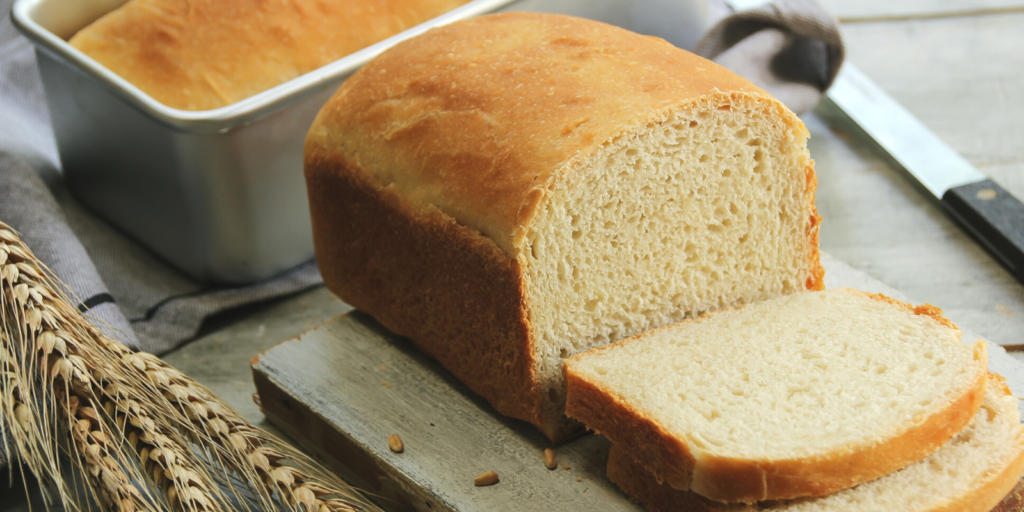
I use it for loaf bread, pizza crusts, cinnamon rolls, dinner rolls, and more!
This recipe is easy, requires little work time, and can be premade for use throughout the week.
The Difficulty of Making Bread From Scratch
Many people are intimidated by dough recipes and kneading. I personally find kneading dough to be a calming, stress-relieving experience. There are plenty of recipes that do not require kneading dough, but I challenge you to try it at least once!
As with any recipe, the difficulty depends on how many steps there are to follow, how many ingredients are needed, and the ease of obtaining ingredients and tools.
This dough recipe calls for a few ingredients that are likely already in your pantry and a few minutes of your time. It is the easiest, most versatile recipe you will use in the kitchen.
Making bread is mind over matter. It really is not as hard to do as you may think. Toss some flour on the counter and discover the art and taste of homemade baked goods!
Ingredients
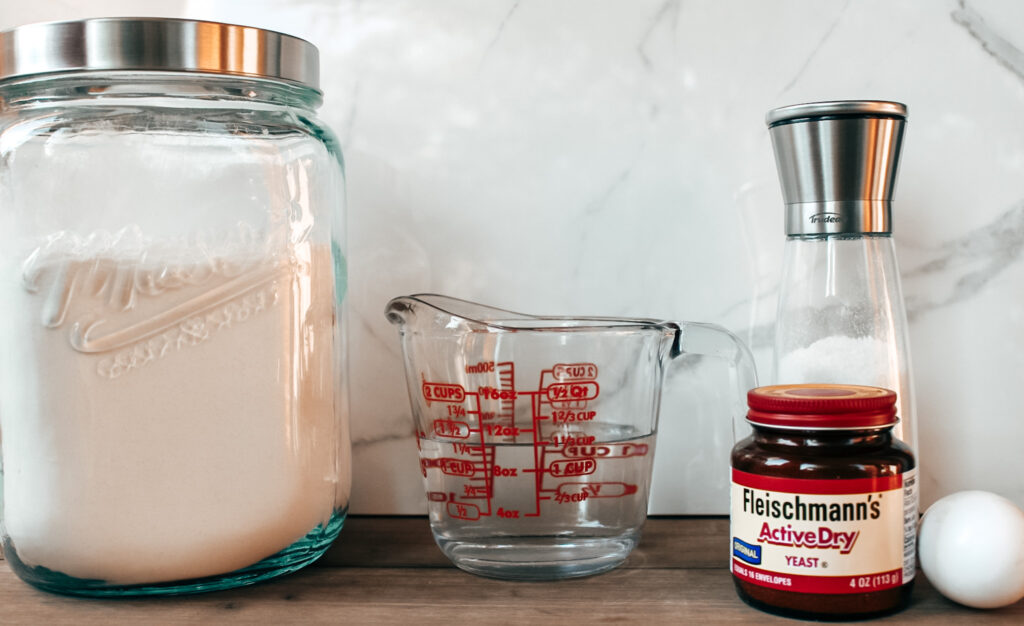
- 1 egg
- 1 teaspoon salt
- 1 ⅓ cup warm water
- 2 teaspoons dry, active yeast
- 2 teaspoons brown sugar
- 3 cups all-purpose flour
I recommend using Fleischmann’s ActiveDry yeast. It can be found on Amazon and in most local grocery stores.
Use a fork to stir the ingredients until it forms a shaggy dough. However, if you plan to make this dough recipe often, I recommend these dough whisks which do a much better job than a fork.
The links above contain affiliate links to Amazon which means I may make a percentage off the purchase.
Instructions
- Combine brown sugar and yeast in a mixing bowl. Add warm water and stir with a fork.
- Add in the egg and salt.
- Slowly add one cup of flour at a time until the mixture is too stiff to mix with a fork. The dough should have a shaggy appearance.
- Transfer the dough to a floured surface by lifting it from the bowl. Knead the dough for 4-5min until it has a smooth appearance. Add a tablespoon of flour at a time until the dough is no longer sticky. The recipe says 3 cups but it usually ends up being 3 ⅓ cups.
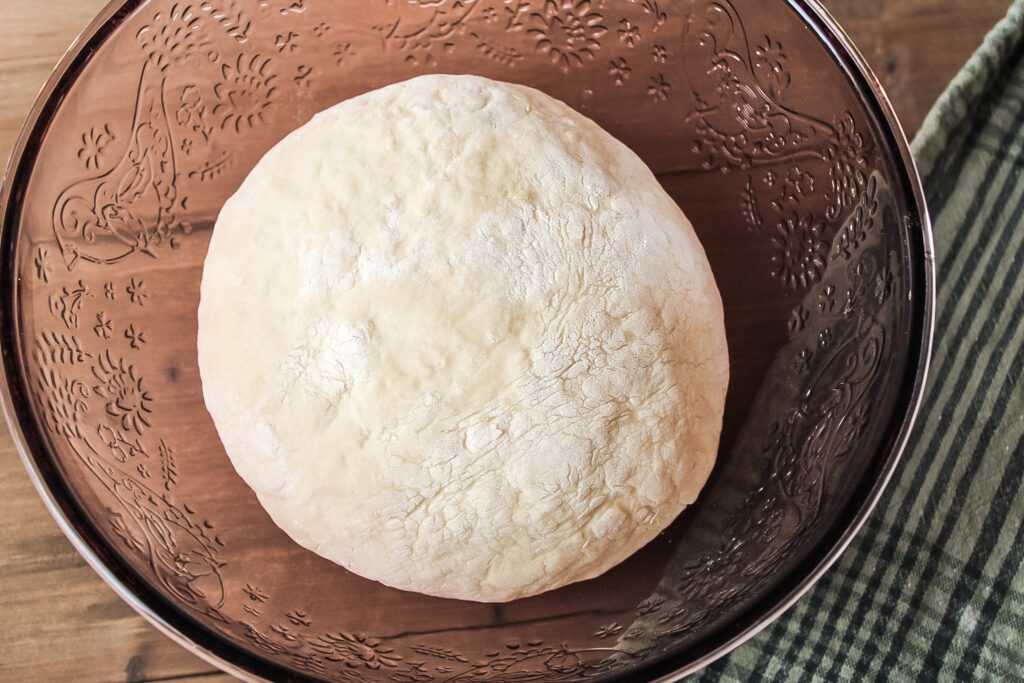
- Smooth the dough into a ball and place in the center of the mixing bowl. Cover with a towel and let it rise in a warm spot for one hour. The dough should double within an hour or less.
Rising
Rising is an essential step to bread making. The first rise should always be in a warm place.
Option 1: Turn on the oven to 350° and wait for it to preheat. When it comes to temperature, turn off the oven. Leave the door open for a minute or two, then place the bowl with the dough in the oven. Make sure to cover with a towel (kitchen towel or flour-sack towel).
Option 2: Let the dough rise in the bowl while doing laundry. In the Summer, I will let the dough rise on top of the dryer to avoid preheating the oven and warming the house. This method works best when the washer and dryer are behind closed doors.
Option 3: Place the dough in a dutch oven and cover with a towel before putting on the lid. Let the dutch oven sit on a hearth or fireplace away from direct heat. Works best with a wood-burning fireplace. Do not leave directly in front of fire. If the area around is too warm, the mantle is another great location.
Printable Dough Recipe
Dough Recipe
Ingredients
Method
- Combine brown sugar and yeast in a mixing bowl. Add warm water and stir with a fork.
- Add in the egg and salt.
- Slowly add one cup of flour at a time until mixture is too stiff to mix with fork. The dough should have a shaggy appearance.
- Transfer the dough to a floured surface by lifting it from the bowl. Knead dough for 4-5min until it has a smooth appearance. Add a tablespoon of flour at a time until the dough is no longer sticky. The recipe says 3 cups but it usually ends up being 3 ⅓ cups.
- Smooth the dough into a ball and place in the center of the mixing bowl. Cover with a towel and let it rise in a warm spot for one hour. The dough should double within an hour or less.
- Follow the instructions below depending on your intended product:
- Press down the center of the dough after the first rise. Pick up the dough and shape into a small log. Grease a standard 9″x5″ loaf pan and place the dough in the middle. Allow the dough to endure a second rise for 30min or until it begins to peak over the top of the loaf pan. Bake in a 350° oven for 25-30min or until golden brown.
- Preheat oven to 450° and place a pizza stone in to preheat. Grease the center of a piece of parchement paper. Press the dough into a 12-inch circle. Roll thin if you would like thin or regular crust; roll the edges of the circle for thick crust. Layer pizza sauce, cheese, and toppings. Bake for 15-20min or until crust is golden and cheese is bubbly.
- Divide the dough into 15 sections after the first rise. Round each piece into smooth balls and place on a greased 9×13-inch pan. Cover with a towel and allow them to rise for 25min in a warm place. Bake in a 375° oven for 15-25min or until golden brown on top. Serve warm or top with a garlic butter sauce!
- When the dough has doubled, press down the center and form a rectangle on a floured surface. Carefully spread half a stick of butter on the dough leaving a ½ inch margin around the edges. Mix ½ cup brown sugar with 2 tablespoons of cinnamon and sprinkle on the butter. Roll the dough from the longest side of the rectangle until it meets the edge. Pinch the dough along the edge to seal the roll. Cut the roll into 1" rounds using a serrated knife. Arrange the rolls on a 9×13" pan and let rise for 30min. Bake in a 350° oven for 25min. To add icing: combining powdered sugar, melted butter, vanilla extract and milk. Pour on top of the warm rolls and enjoy!
Do I need to Proof Yeast?
Proofing is a method used to verify that the yeast is active.
Recently purchased yeast does not need to be proofed because it is fresh. I recommend proofing if you are using yeast older than one year. The bottle lasts six months to one year in the refrigerator so it should remain active, but I double-check by proofing if I have not used it in a while.
Proofing can be done in step number one. Add the yeast and brown sugar to a mixing bowl, pour warm water and mix. Allow the mixture to sit for a minute or two. Active yeast should slightly bubble and foam. If you do not notice within a few minutes, the yeast is no longer active.
Artisan Style Design Loaf
This simple dough recipe is not exactly an artisan-style dough. However, you can still create designs on top of the loaves of bread.
Most artisan loaves are scored with a scoring lame or an extremely sharp blade. You can find these on Amazon or local stores.
Tips for scoring:
Scoring uses a quick, swift motion.
Avoid pressing down into the dough.
Use oil on the blade to prevent jagged scoring.
Score before baking. Do not store dough already scored.
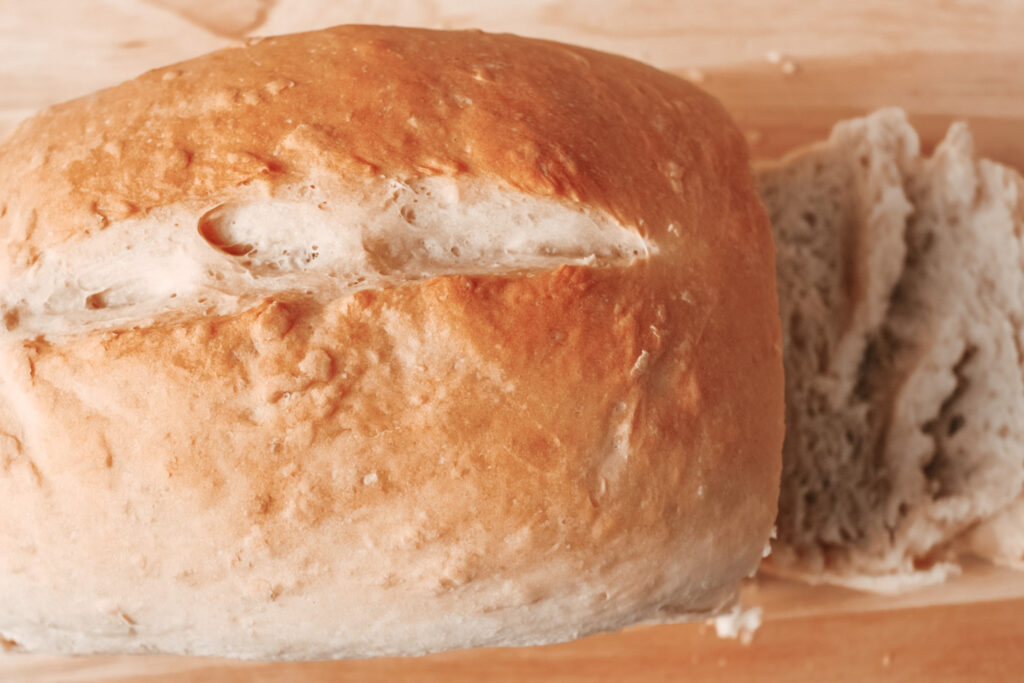
I did not intend to create a design with this loaf. The center is scored as an example. Many designs can be made when scoring. Remember not to cut too deep!
This post contains affiliate links which means I make a small commission at no extra cost to you. See my full disclosure here.
