Raising a Sourdough Starter is the process of nourishing a product that will nourish you in return. It can be used to make more than bread and the taste can be adjusted based on your preference. With two simple ingredients, you can have an endless supply of naturally fermented wild leavening by raising your very own sourdough starter. Get started with this Guide for Raising a Sourdough Starter…
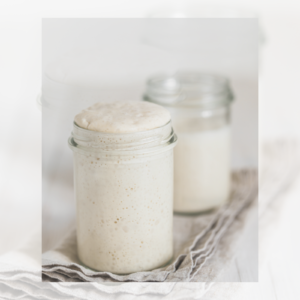
Intimidated by Sourdough
At one point in my life, I said that I would never touch sourdough because I do not like the sour taste and it is such a hassle to keep. Less than two weeks after claiming that thought, I had a mason jar of starter on my kitchen counter.
I lost interest in the concept of sourdough because of the fear I gained from listening to other people instead of trying for myself and learning about the properties of sourdough. Maintaining a starter, ruining the starter by letting it mold, bread turning out brick hard, and so many other negative comments turned me away from sourdough.
It wasn’t until I began to research the chemistry and historical aspects of sourdough that sparked interest to give it a try. I decided to pause the limiting beliefs that were preventing me from trying something new and from there I found a new love and a kitchen staple.
The History of Sourdough
Sourdough dates back to ancient civilizations. Did you know that a sourdough starter or a mother starter can last for hundreds of years?
Sourdough endures a fermentation process. The starter is an establishment of a colony of wild yeast found on flour that is maintained by feeding and hydrating with purified water and flour. As the starter develops, carbon dioxide is produced which causes the starter to bubble and allows bread and baked goods to rise.
Raising a sourdough starter is the oldest form of naturally leavened bread. The wild yeast spores capable of leavening bread were discovered long before commercial yeast came to take its place. Though commercial yeast is convenient, nothing beats the fresh taste of a naturally fermented, leavened and loved, sourdough product.
Health Benefits
1. Good for Gut Health
Polyphenols are beneficial microbes found in fibre and plant compounds that aid in adding to our gut microbiome. The colony of beneficial bacteria generated by fermenting sourdough starter assists our bodies in digestive properties by creating a healthy living space for microbes. Therefore, sourdough is good for gut health!
2. Does Sourdough Digest?
Vitamins and minerals are bountiful in sourdough products because the starter undergoes a slow fermentation process. Fermentation is the chemical breakdown and conversion of a carbohydrate into an alcohol. The breakdown of proteins (including gluten) aids in making sourdough an easier product to digest.
3. Blood Sugar Regulator
Since sourdough is a naturally leavened product, bread made from sourdough may contain fewer sugars than additives found in commercially sold products. Sourdough has less impact on blood sugar levels and contains high fibre content.
Think about the reasoning behind restaurants serving bread before a meal. The idea is that bread will spike blood sugar levels but the levels will fall while waiting on a meal. This is so that when the meal arrives, you are hungry and will consume more after enduring a rise and fall in blood sugar.
On the other hand, sourdough does not contain the same ingredients that spike blood sugar. Instead, it allows the body to maintain blood sugar levels while taking in more nutrients.
4. Reduce the Risk of Heart Disease
Diets that have high fibre content may be linked to the reduction of heart disease risk. Sourdough naturally contains a high fibre content but can be further improved by choosing a whole grain or rye flour to establish and feed the starter.
5. Nurturing and Nutritious
Sourdough is a product nourished by feeding and hydrating the starter which then nourishes our bodies when consumed. Phytic Acids found in grains are broken down through fermentation allowing us to obtain more nutrients through the release of vitamins, minerals, and fibres.
Establishing a Sourdough Starter
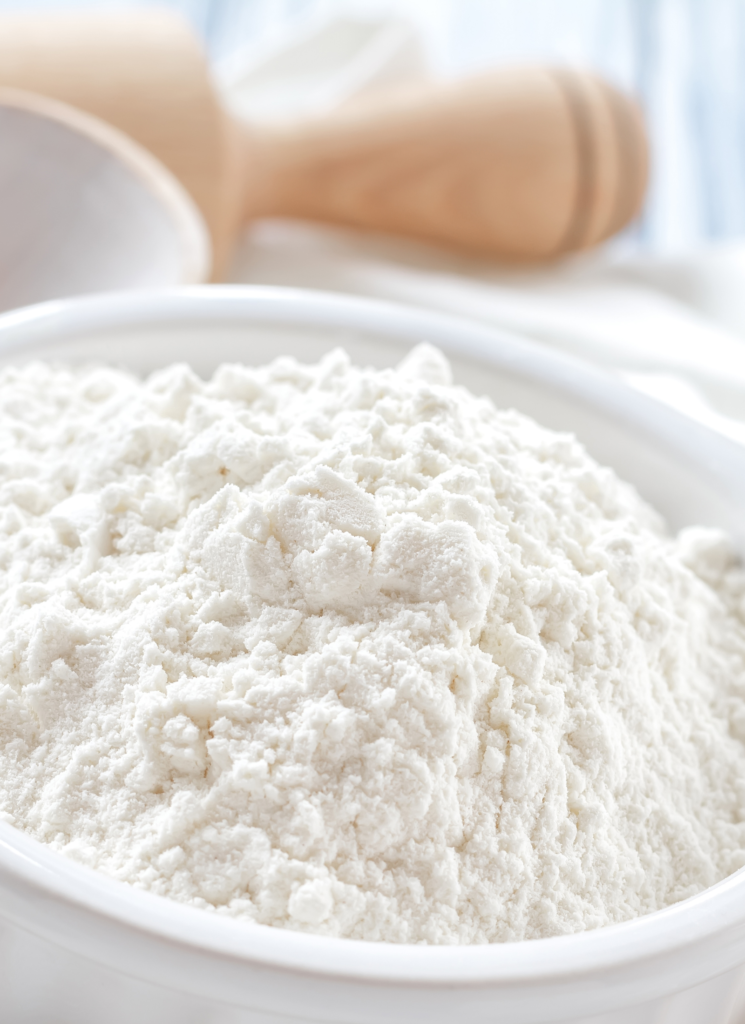
Flour is the main ingredient in sourdough starter and it matters what kind you use. The most popular starters are made with unbleached all-purpose flour, whole grain flour or einkorn flour. I am using Arrowhead Mills: Organic All-Purpose Flour (unbleached).
Sourdough Starter is a 1:1 ratio of flour and water. In the beginning, start with one cup of flour to one cup of water. The idea is to gain a consistency that is similar to a thick pancake batter. A few small lumps in the mix is normal.
Tools
- Glass Container (must)
- Wooden or Silicon Utensil
- Tea Towel
A glass bowl or jar and a wooden spoon are required because metal can cause a reaction with beneficial bacteria and yeast. Rule of thumb- never use metal to store or stir your starter.
Establishment Schedule:
- Day 1: Mix equal parts flour and water. Stir vigorously until thoroughly combined. Cover with a thin cloth and let rise for 24 hours.
- Day 2: Discard half of the starter. Feed equal parts flour and water. Let rise for 24 hours.
- Days 3, 4, & 5: Repeat steps for day two.
- Day 6: Discard half of the starter. Feed every 12 hours.
- Day 7: Starter should be established. If you consistently see bubbles and it is rising, the starter is ready to use. This process could take up to fourteen days. Repeat steps for day six, feeding every 12 hours if you plan to use daily. Otherwise, cover and leave it in the fridge. Take it out to feed the night before you plan to use it.
Bad Bacteria or Harmless Hooch
Raising a sourdough starter is an easy project. However, beware of bad bacteria. A healthy starter contains beneficial bacteria that thrives and makes the levening process possible. On the other hand, bad bacteria can come in contact with starter if you introduce it by not having clean hands or utensils or even if you have a moldy piece of fruit sitting near the jar.
I was scared of dealing with a fermented product and controlling a bacteria environment but I found that it is much harder to ruin a starter that I imagined. What does bad bacteria in a ruined starter look like? Usually, you will see a pink or black strip of mold. Throw it out. You do not need to freak out but you do need to dispose of it.
Look at the starter before feeding. There may not be pink or black spots of mold but there are black specs with bubbles and a liquid layer on top. This is hooch and it is as harmless as it is hilarious! Hooch is a substance made of water and alcohol and simply means that your starter is hungry. All you have to do is pour it off or stir it in and feed as normal. If you have a regular appearance of hooch, try feeding more often.
Double & Discard
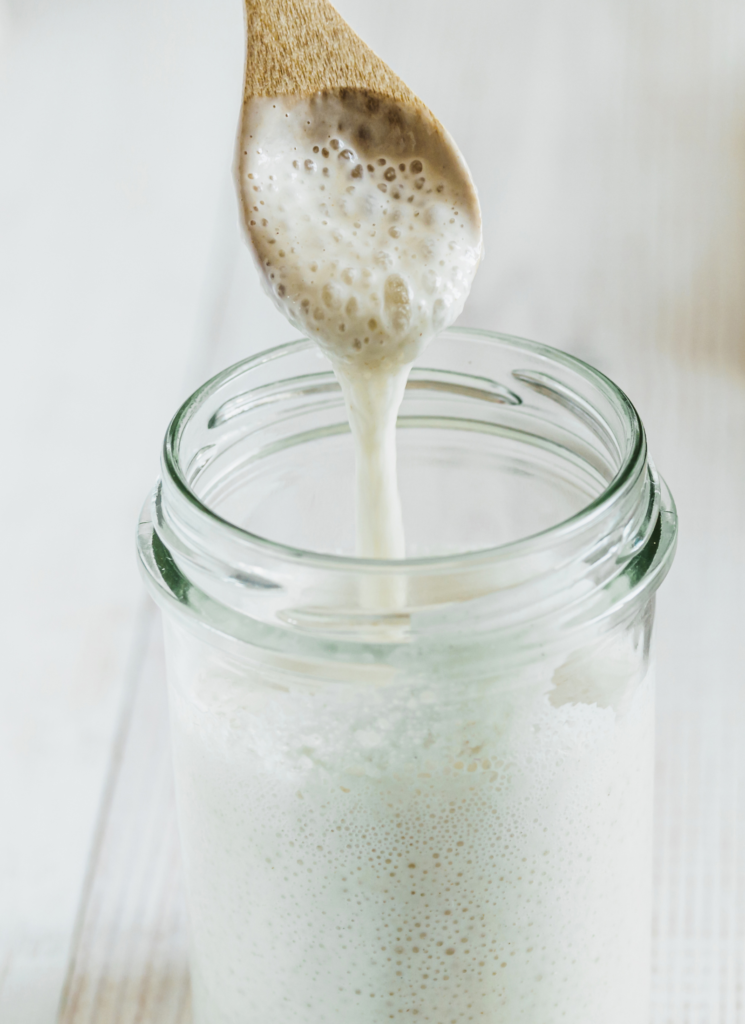
Each time you feed the starter, watch for it to rise ensuring that it is healthy. It is not as likely to double in size until it is older but it should be consistently growing in volume. As the starter becomes more established and healthy, it could grow enough to spill over the jar so watch out for messes!
Before each feed, take out half of the mixture and toss it. This is called discard. It can not be used during the establishment period of the starter but can be used for many things once the starter is healthy and happy. Discard is starter that has been removed before a feeding. Active sourdough is starter that has been fed and left to rise for a few hours (four to six hours) and used while it is active and bubbly.
Maintaining a Starter
To maintain for daily use:
Cover and leave the starter on the kitchen counter or a warm space. Feed the starter every 12 hours or as necessary depending on how much you plan to use it.
To maintain for occasional use:
Place the starter (covered) in the refrigerator. Cold slows the fermentation process and therefore causes the bacteria to be less active. I feed my starter once per week and store in the refrigerator when not in use.
When I want to use the starter, I pull out the night before to feed and bring to room temperature so that it is active and healthy again.
I have heard of people leaving their starter in the refrigerator completely happy for up to two months but I hope you are using your starter more often than several months between uses!
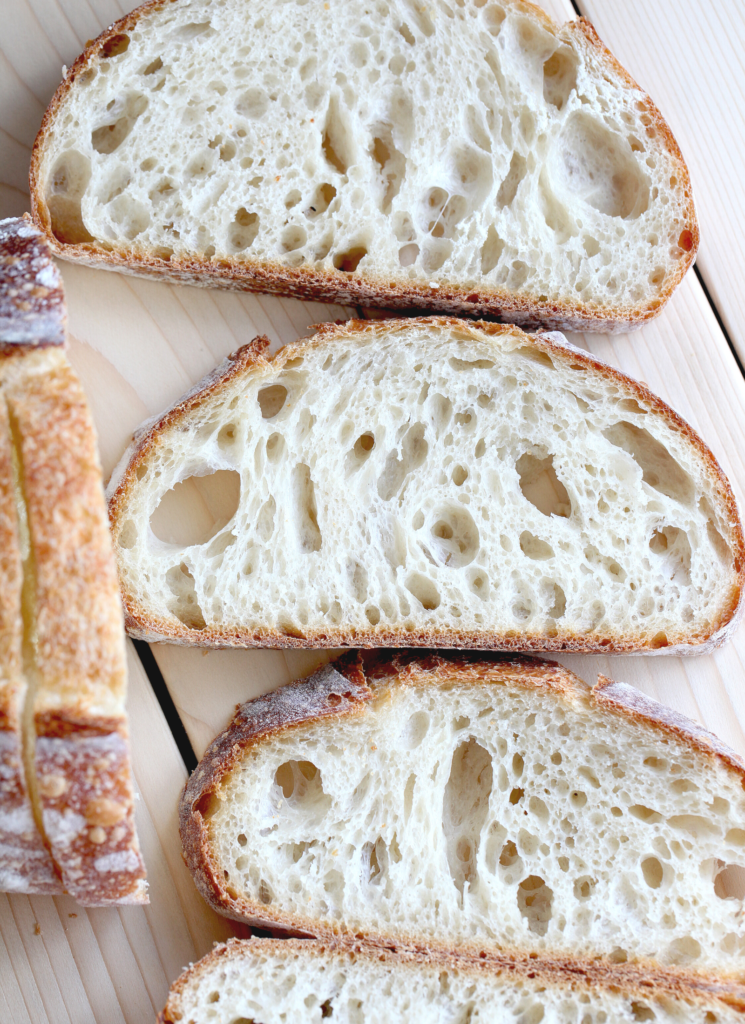
Enjoy engaging in the start to sourdough that will hopefully inspire many baked goods to come! Look for Sourdough and Sourdough Discard recipes to appear on the Farmstead Stories blog.
Starter Hydration
Following the establishment schedule above is important for getting started. Mixing equal parts flour and water produces a starter with 100% hydration. What is starter hydration and why is it important?
The hydration of a sourdough starter simply means the ratio of water compared to flour. Divide the water (in grams) by the amount of flour (in grams) and multiply by one hundred to get the hydration percentage. Example: 150g water / 150g flour x 100 = 100% hydration.
Personally, I have found better success with keeping my starter and bread recipe at about 85% because I give my starter more flour than water. When I have a cup of sourdough discard (inactive starter) in the jar, I add 150g of flour to 285g (1 cup) of starter and exactly 128g of water. To calculate: 128g water / 150g flour x 100 = 85% hydration.
