Did you know you can easily make homemade butter in a mason jar? There are several ways to make fresh butter, but it is important to start by understanding the process. The mason jar method is the best place to begin making butter before getting into bulk batches. Try this method and watch heavy cream become whipped cream, clumps of butter, buttermilk, and fresh butter!
How to Make Homemade Butter in a Mason Jar:
Butter is an essential staple to most southern dishes. As any true southerner will tell you, measuring in the kitchen is never a thought. We simply wing it until we feel our ancestors telling us it’s enough! I am going to try my best to explain how to make butter with estimates on measurements.
Butter
Materials
- 1 Pint Heavy Cream
- Quart Mason Jar
Instructions
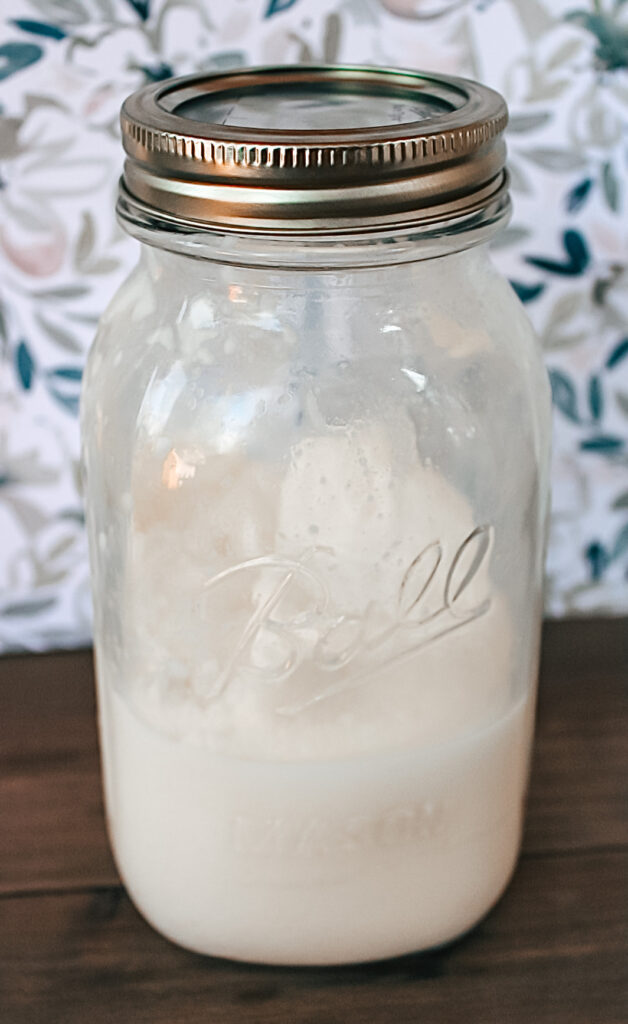
- Pour the heavy cream in the mason jar filling no more than half way.
- Shake for approximately 10min or until butter is formed and separated from the liquid (buttermilk).
- Pour off the buttermilk and save for biscuits or other uses.
- Wash the butter in 1/2 cup of cold water until the water runs clear. This process takes 3-4 washes.
- Squeeze out any excess water and add salt to taste.
- Store butter in a dish or butter bell as normal.
Prepare for an arm workout if you are making butter via a mason jar! I recommend starting with the mason jar method if you are new to making butter. There are more products that come from the process of shaking heavy cream before you get butter! The amount of time spent shaking the jar allows you to see the transformation.
Heavy Cream
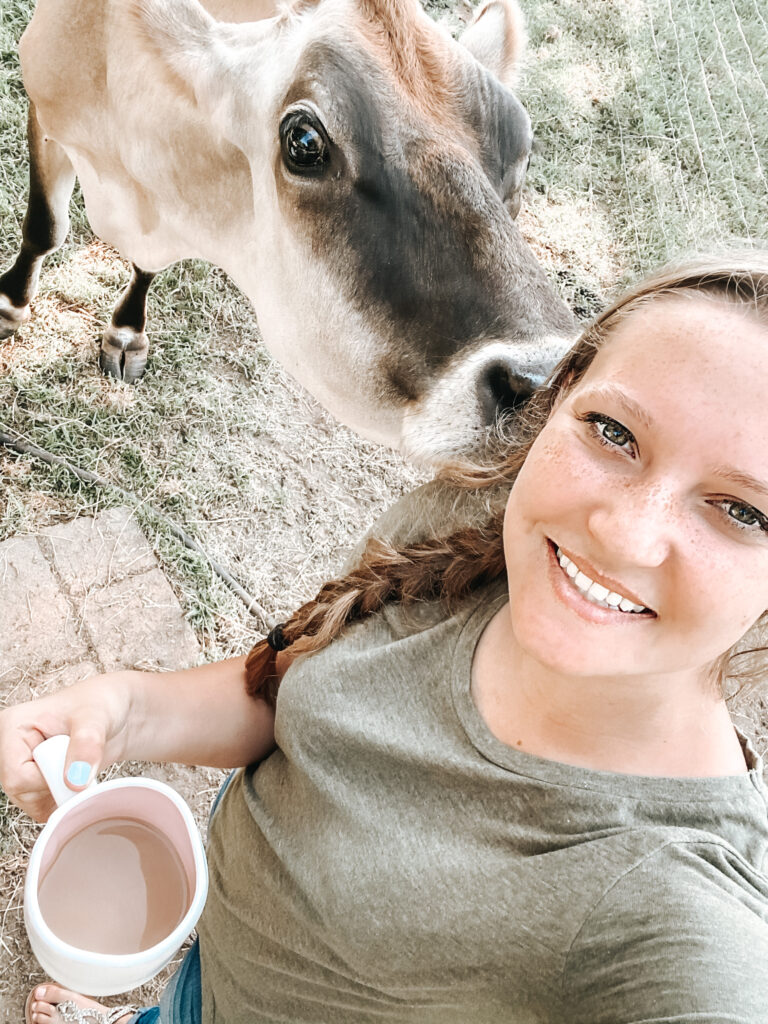
Heavy cream is the main ingredient to making butter. I prefer to use fresh cream separated from milk. You can ask local farmers for milk and cream or check with local farmer’s markets as some will have it available for purchase. Store-bought heavy whipping cream will work if necessary. It has fewer preservatives than most store-bought butter even though the idea of healthier living is to limit the number of preservatives and/or additives used in store-bought ingredients.
Whipped Cream
Shake the heavy cream in the mason jar for three minutes. Pause and open the jar to see gorgeous, fluffy, whipped cream. I love using a spoonful of this in coffee or making it to use on desserts.
Fresh Buttermilk
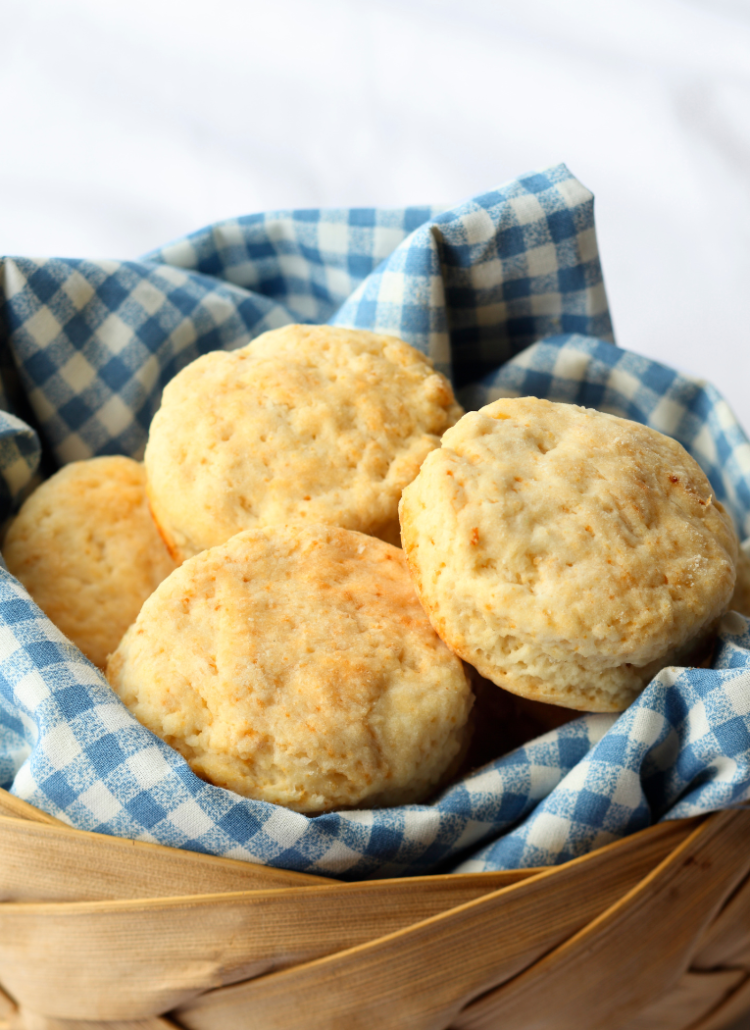
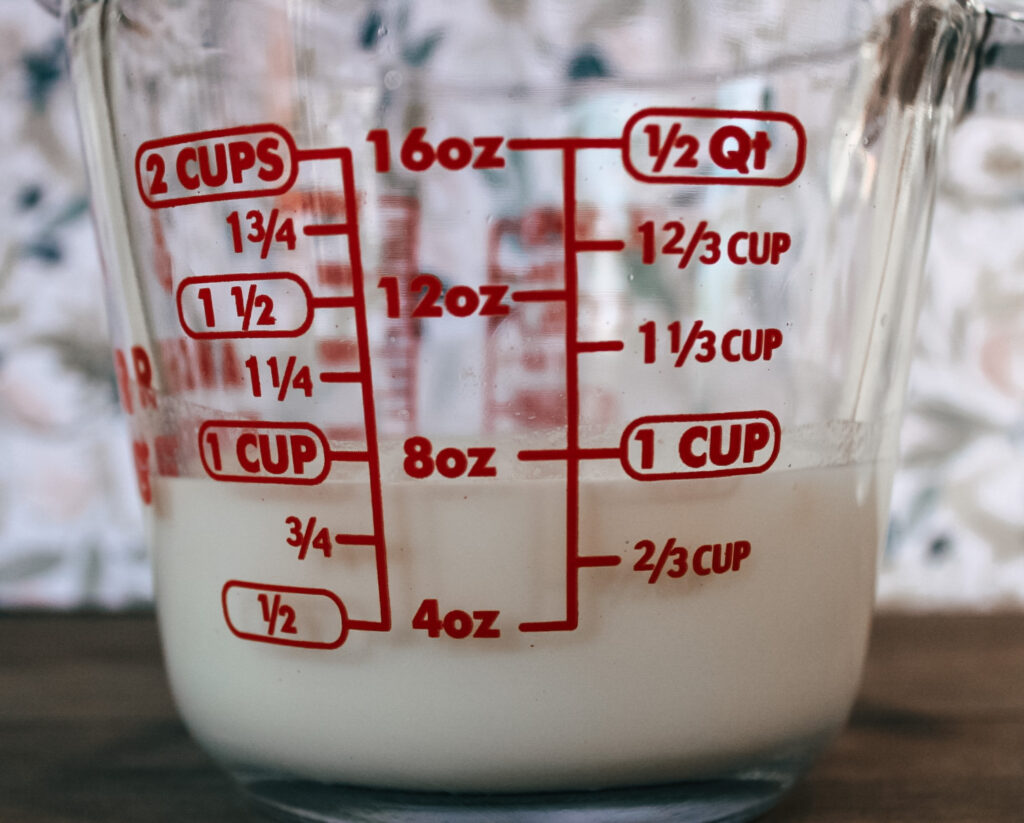
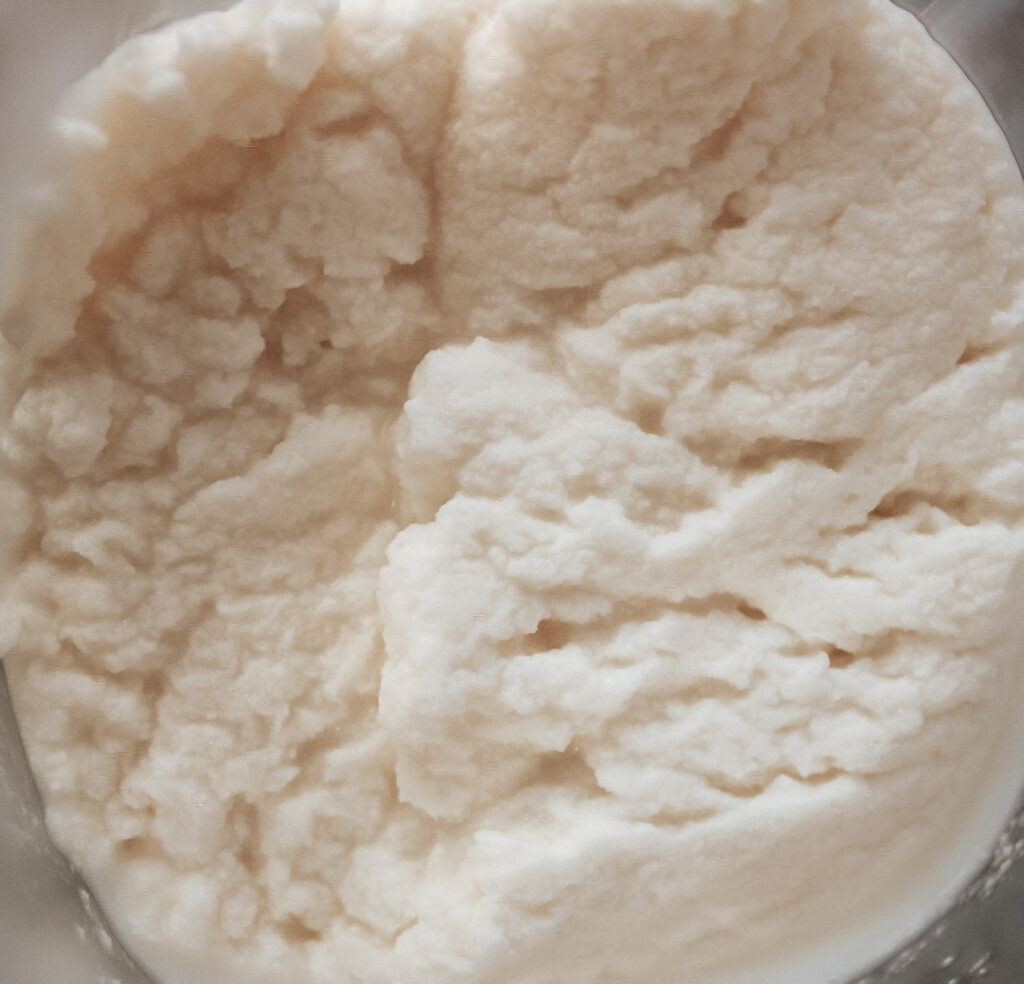
Continue shaking the jar of cream past the point of having whipped cream and you will see liquid begin to separate leaving chunks of butter. This is buttermilk! A pint of cream will yield about a cup of fresh buttermilk. This is the exact ratio I use to make biscuits! Click the link to see my Buttermilk Biscuit Recipe for Beginners!
Homemade Butter
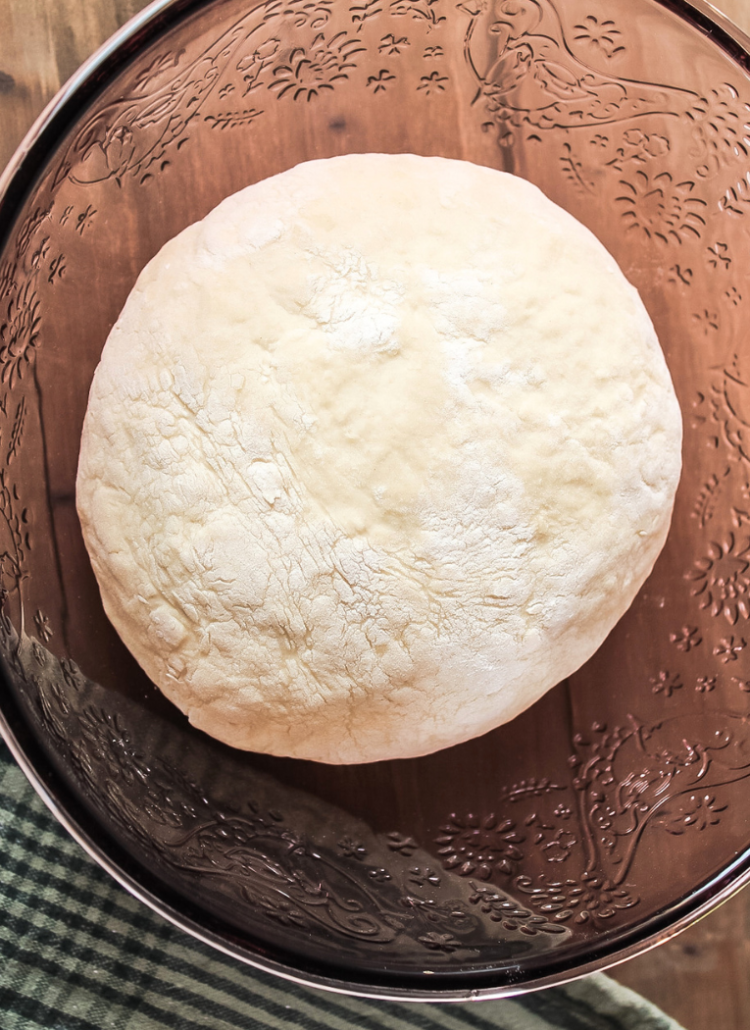
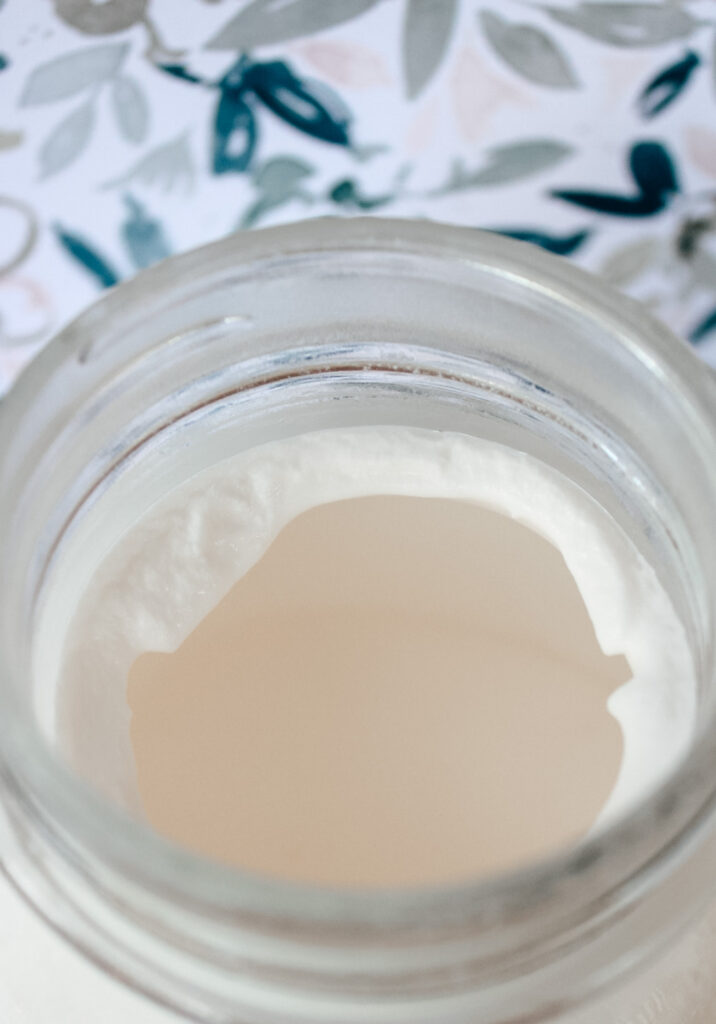
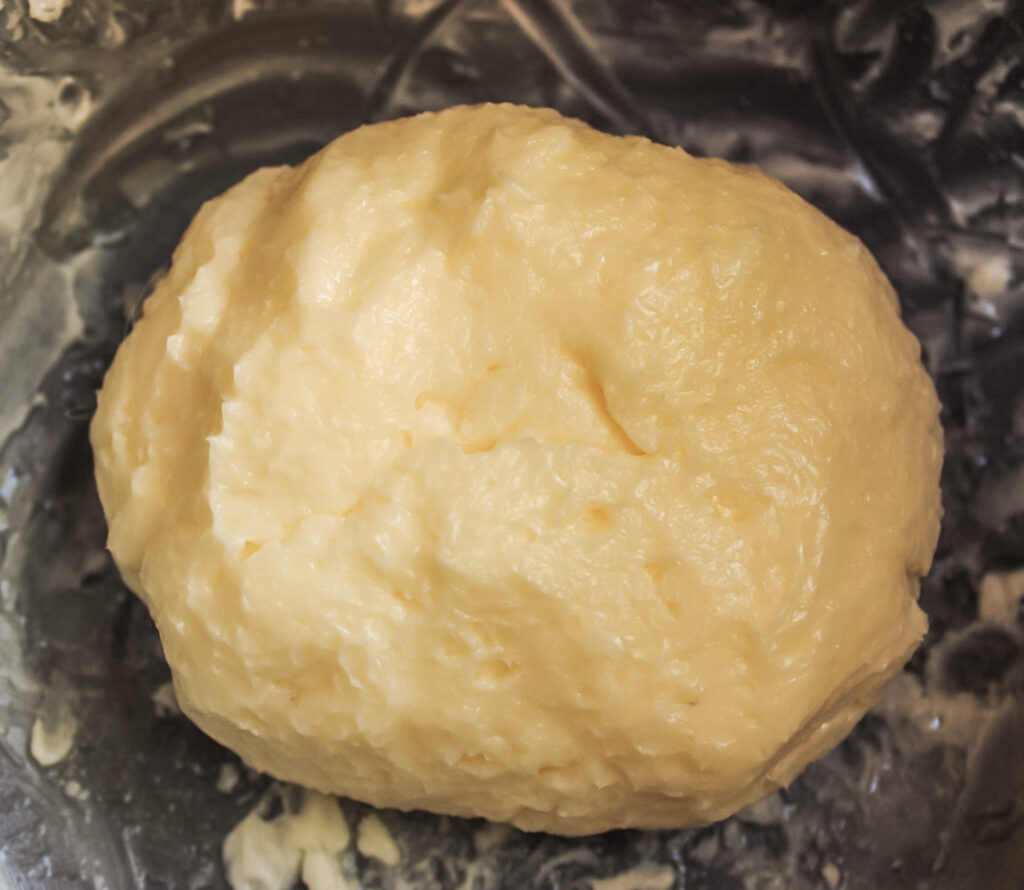
The picture below is what you should see after pouring off the buttermilk. Soft butter should be left in the mason jar ready to be pulled and washed. Washing the butter helps remove any excess buttermilk that is left and will also help preserve it longer.
To wash, simply pour a cup of cold water over the butter and knead until it forms a solid ball. I find that ice water helps this process because otherwise, the butter will remain soft and impossible to mold into rounds. Rinse the butter three to four times or until the water coming off washes clear.
Squeeze the butter with clean hands until no liquid drips. A cheesecloth or thin towel will help here if squeezing with bare hands seems difficult.
Add a teaspoon of salt and work into the butter with a spatula or by kneading with hands.
I typically get four ounces of butter which is equivalent to one stick. When the butter is cold enough, you can mold it into flat rounds by hand or use a butter mold if you have one.
Storage
When using fresh, soft butter, you can store it in a butter bell on the counter or in the refrigerator. On the other hand, you can mold it into rounds and freeze it to have later or use for biscuits! I use one round (4 ounces) of frozen butter for biscuits.
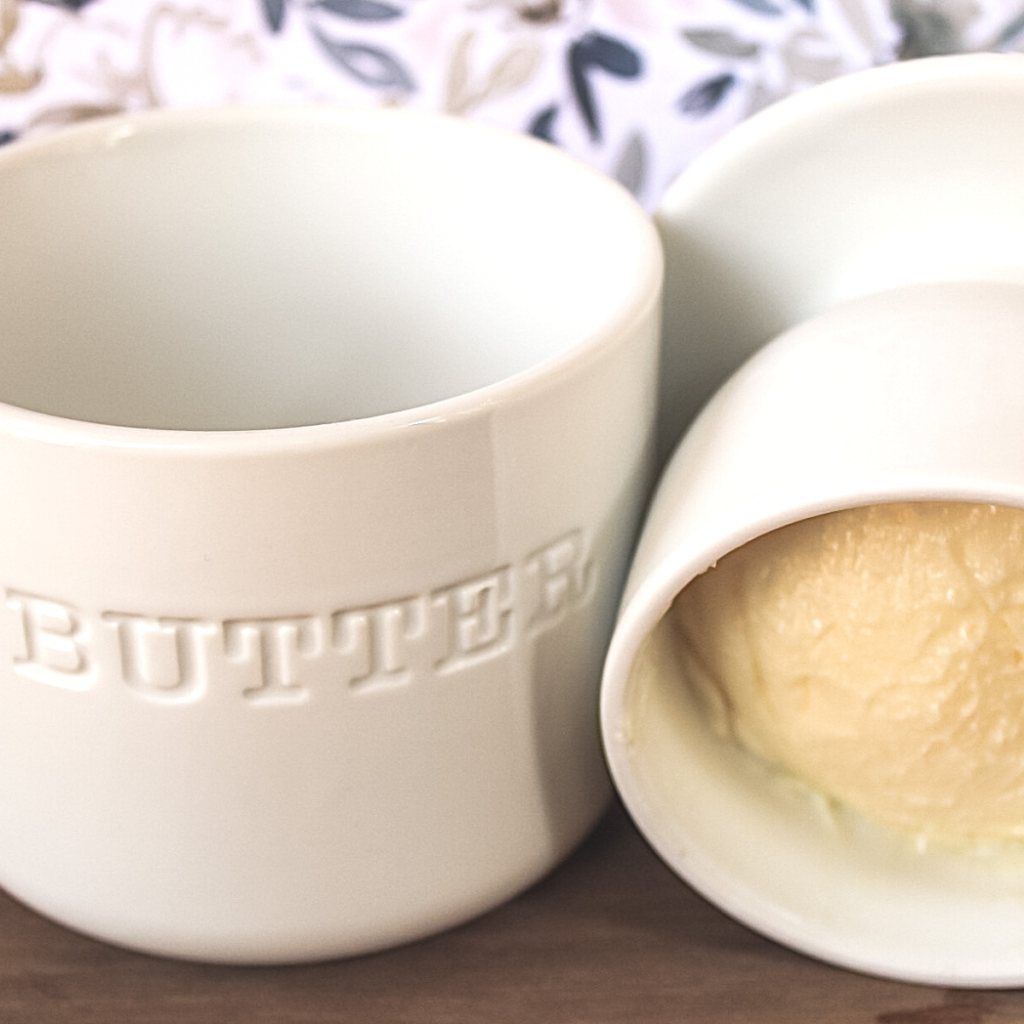
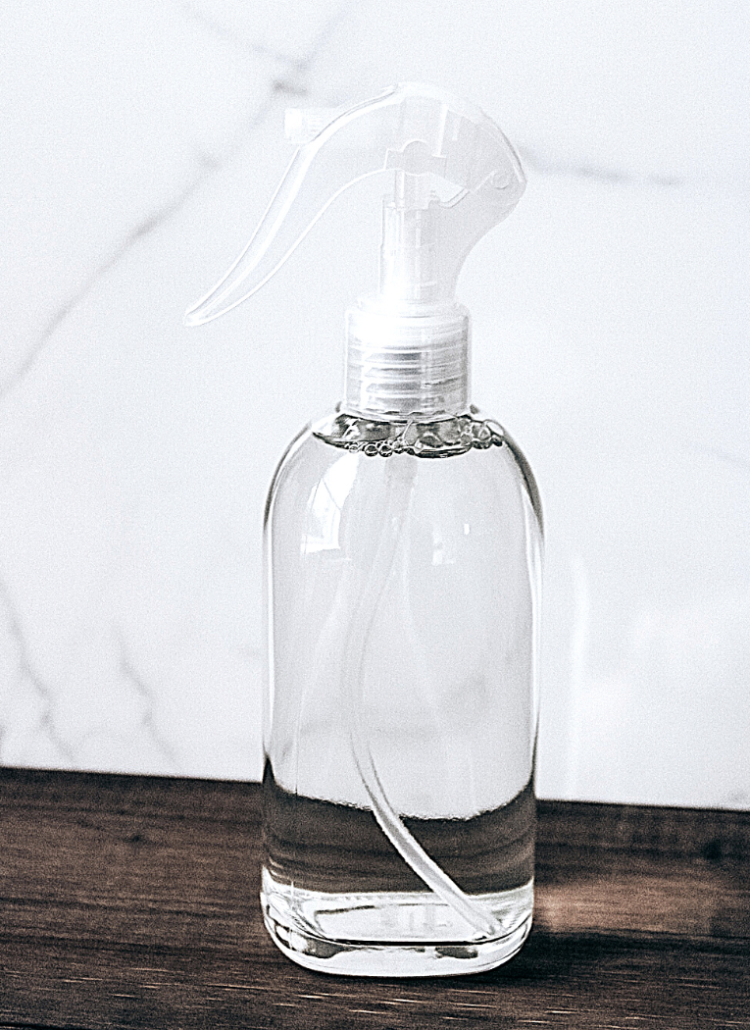
Fill the butter bell with the butter as shown. Press out any air bubbles by packing the butter in the bell. Add water to the crock until it is half filled. Turn the bell upside down and pack the butter in the crock. You can place it in the refrigerator for cold butter or leave it on the counter for soft, spreadable butter.
Where to get a butter bell?
This post contains affiliate links which means I may make a small commission from sales through the provided links. View the full privacy policy and disclosure statement here.

Homemade Butter to Buttermilk Biscuits
I encourage you to learn the processes that heavy cream goes through in order to make butter. The mason jar method is the best way to watch each step. However, using a KitchenAid will make the process of making butter much faster and easier. It will allow you to make more at a time as well if you plan on freezing or sharing.
After mastering the skill of making homemade butter, read Buttermilk Biscuits for Beginners to learn biscuit making with your homemade butter!
Homemade Herb Butter
Herb Butter is as simple as adding herbs to butter! You can place it in the refrigerator to chill the butter and then mold into a round or try freezing it in an ice cube tray for cooking. It is delicious as a spread but convenient to toss a few cubes of frozen herb butter into a pan while preparing meals!
Herb Ingredients:
- 1/4 teaspoon minced garlic or garlic powder
- 1 tablespoon fresh dill minced
- 1 tablespoon parsley
- 1 teaspoon lemon juice (optional)
- 1 teaspoon salt (unless using salted butter)
- 1/4 teaspoon freshly ground black pepper
Combine butter and herbs in a bowl and mix with a spatula or the paddle attachment for a hand mixer or a KitchenAid.